| Using the User Browser |
|---|
Using the User Browser
The user browser allows normal users to browse and view the available people in your Zingoolarity instance and allows administrative users to maintain people (create, update and delete).
To invoke the user browser, select Users from either the main menu or from the home page:
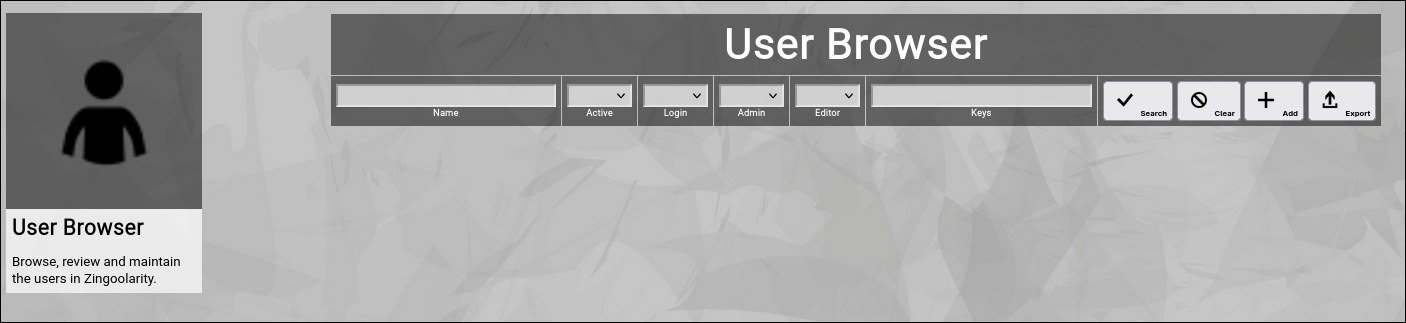
(Zingoolarity user browser)
Searching & Filtering for Users
The user browser allows you to search and filter for the following user attributes:
- Name
Enter part of a user name.
- Active
Select whether you want to see all users, only active users or only inactive users.
- Admin
Select whether you want to see all users, only administrative users or only non-administrative users.
- Editor
Select whether you want to see all users, only editing users or only read-only users.
- Keys
Enter part of the keys of a user.
Click the Search button to perform the search or click the Clear button to reset the already entered search criteria.
Exporting Users
If you are an administrative user, you can export the currently filtered list of users in ZML or CSV format to a local file.
The preferred export format can be selected in the settings screen (in the upper right corner of the menu bar).
Click on the Export button to perform the export.
A file named export_user.zml or export_user.csv will be created in your local Downloads directory.
Note:
Be careful with such a file, because it also includes the secret personal certificates of the users.
Adding a New User
To add a new user, click the Add button.
The new user editor screen will appear:
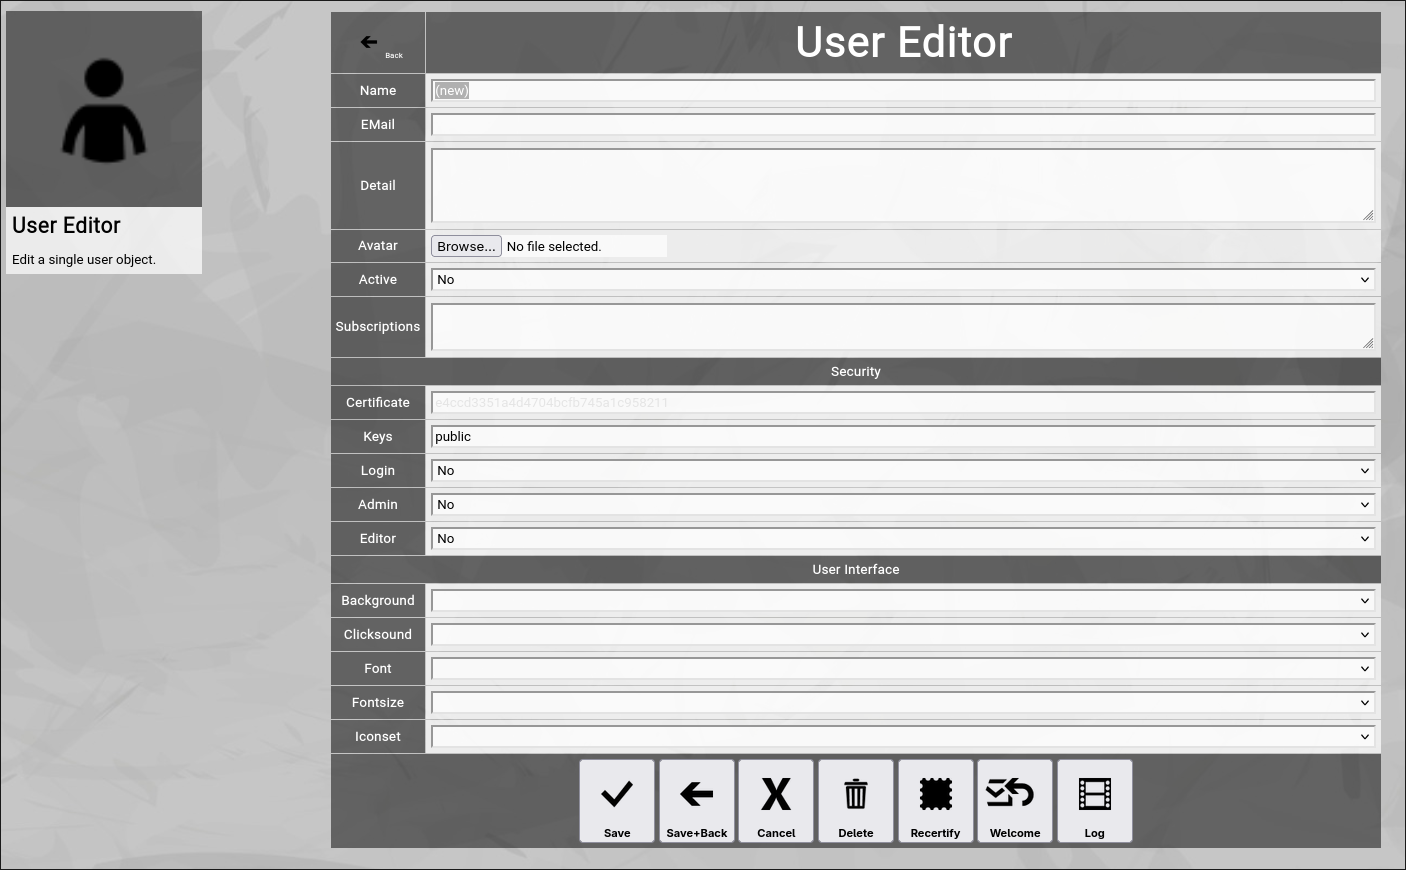
(Zingoolarity user editor screen)
Let us have a look at the different available attributes of a user:
- Name
The Name of a user represents its combination of first and last name.
It is always shown in the different views in Zingoolarity involving people.
This field can also be edited by the user him- or herself with the help of the profile screen.
- EMail
The optional EMail address of a user is required, if the person should be able to use Zingoolarity (the email address is used to recover the personal secret certificate to login).
For people who do not directly use Zingoolarity, the email address is optional and only has informational character.
This field can also be edited by the user him- or herself with the help of the profile screen.
- Detail
The optional Detail of a user is a full text description, optionally formatted in HTML.
You can enter HTML tags directly (e.g. if you want to underline something in the text, you can include it in tags).
This field can also be edited by the user him- or herself with the help of the profile screen.
- Avatar
The optional Avatar of a user allows you to upload an image file (.png, .jpg or .gif format) to the user, which will be shown as a kind of avatar in the different views in Zingoolarity.
You have to click on the Browse button to select an image file from a local directory.
This field can also be edited by the user him- or herself with the help of the profile screen.
- Active
The Active toggle of a user can be used to disable (or enable) a person.
Disabled users are shown in strike-out format in the user browser.
To be able to login to Zingoolarity, a user must be enabled.
Immediately after using the register screen (self registration), the new user record is disabled and needs approval by an administrator to be enabled.
Setting a user to inactive can be used as some kind of soft delete.
- Subscriptions
The Subscriptions of a user optionally contain a list of subscription toggles (enclosed in vertical bars, for example |dailynews|).
Subscriptions can be managed by the user him- or herself with the help of the profile screen.
- Home URL
The optional home URL allows you to set a custom URL, which will be used for the "Main" buttons in the home screen, in the menu and in the top level menu bar.
If the user subscribed to the simplified UI, this will also replace the link from the splash screen.
- SECURITY
- Certificate
The Certificate of a user is a secret 32 character string, which should only be shared with the user him- or herself, as it is the key which is needed to login to Zingoolarity.
Zingoolarity does not provide a standard username+password approach; only this secret key is needed to login and it can be obtained with the recover screen via email.
The certifcate cannot be edited and is visible only to administrators in ghosted (difficult to read) format, which enables mark, copy and paste.
- Keys
The Keys of a user contain a space-delimited list of security access keys, which are in the possession of the user.
For more information about the concept of ownership, keys and locks, please visit the Securing a Topic chapter further up in this getting-started-guide.
A reasonable default is the all key; it signals that topic content made available to all users of the Zingoolarity instance can be accessed.
- Login
The Login toggle of a user defines whether a user can login to Zingoolarity or not.
By default, users are only persons, who can be used to assign in teams and cannot work with Zingoolarity.
- Admin
The Admin toggle of a user defines whether a user is a normal user (disabled) or an administrative user (enabled).
Administrative users have full access to all topics (independent of topic ownership and locks configuration) and can perform full configuration of the Zingoolarity instance (including the maintenance of user accounts).
- Editor
The Editor toggle of a user defines whether a user can contribute and modify topic content (enabled) or can only view content (disabled).
This setting overrides any ownership or locks configuration; if a user is not an editor, he or she cannot add, edit or delete topic content at all.
- USER INTERFACE
- Background
The optional Background of a user allows you to select a different background image in Zingoolarity.
- Clicksound
The optional Clicksound of a user allows you to select a different clicking confirmation sound when making selections in Zingoolarity.
- Iconset
The optional Iconset of a user allows you to select a different set of icons in Zingoolarity.
Note: As Zingoolarity caches all icons in the browser (for performance reasons), this change is not immediate.
It may take up to 10 minutes for all new icons to appear (be patient).
- Font
The optional Font of a user allows you to select a different true type font in Zingoolarity.
- Fontsize
The optional Fontsize of a user allows you to select a different default font size in Zingoolarity.
The default is usually 10pt.
At the bottom of the screen, a couple of buttons are available:
- The Save button will just save your changes (without leaving the editor screen).
- The Save+Back button will do the same but return to the previous screen.
- The Cancel button will just return to the previous screen (without saving).
-
- The Delete button will request confirmation, will delete the record and then will return to the previous screen.
Note: Deleting a user is only possible, if the user is not yet used somewhere in Zingoolarity already; if this is the case, you will see an appropriate error message.
- The Log button will show a historical transaction log of the current record (for auditing purposes).
Recertifying a User (as an administrator)
If you are an administrator, you will see an additional button called Recertify button.
If you click this button, Zingoolarity will ask for confirmation and then will create a new random secret personal certificate for the user.
This will immediately invalidate any sessions of this user and the user has to re-login with the new certificate.
This is helpful if you suspect that a user account has been compromised and you want to re-establish proper security for the user in question.
Welcoming a User (as an administrator)
If you are an administrator, you will see an additional button called Welcome button.
If you click this button, Zingoolarity will ask for confirmation and then will send a welcome email to the email address of the user, including a personalized link to login (including the secret personal certificate).
This is helpful if you want to push-onboard the user either after self registration with the help of the register screen (and you just verified the user and set active=yes) or if you added the new user manually.
Editing an Existing User
To edit an existing user, click the Edit button next to the user in the list shown in the user browser after searching. |
| Using the Timing Browser |
|---|
Using the Timing Browser
The timing browser allows normal users to browse and view the available time dimensions for topics on roadmaps in your Zingoolarity instance and allows administrative users to maintain these (create, update and delete).
To invoke the timing browser, select Timings from either the main menu or from the home page:
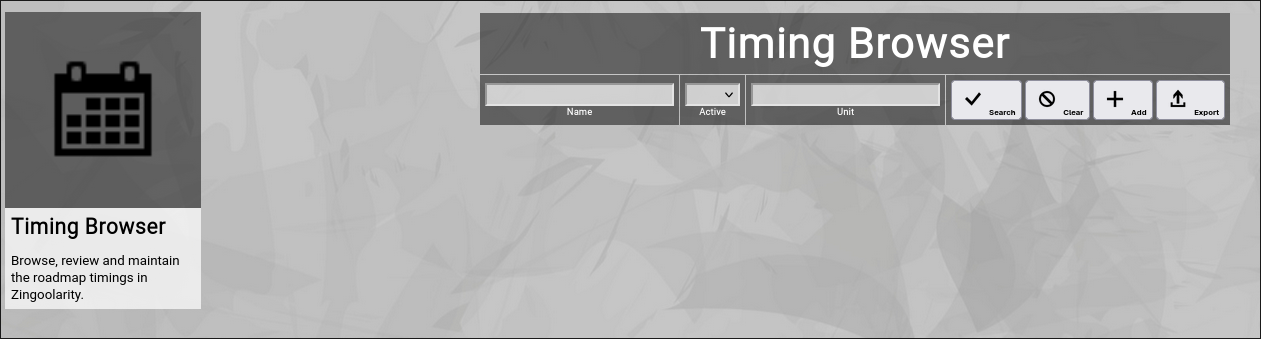
(Zingoolarity timing browser)
Searching & Filtering for Timings
The timing browser allows you to search and filter for the following timing attributes:
- Name
Enter part of a timing name.
- Active
Select whether you want to see all timings, only active timings or only inactive timings.
- Unit
Enter a unit letter (for example m for months or w for weeks).
This makes sure that roadmap views only render timings of the same granularity.
Click the Search button to perform the search or click the Clear button to reset the already entered search criteria.
Exporting Timings
If you are an administrative user, you can export the currently filtered list of timings in ZML or CSV format to a local file.
Click on the Export button to perform the export.
A file named export_timing.zml or "export_timing.csv" will be created in your local Downloads directory.
Adding a New Timing
To add a new timing, click the Add button.
The new timing editor screen will appear:
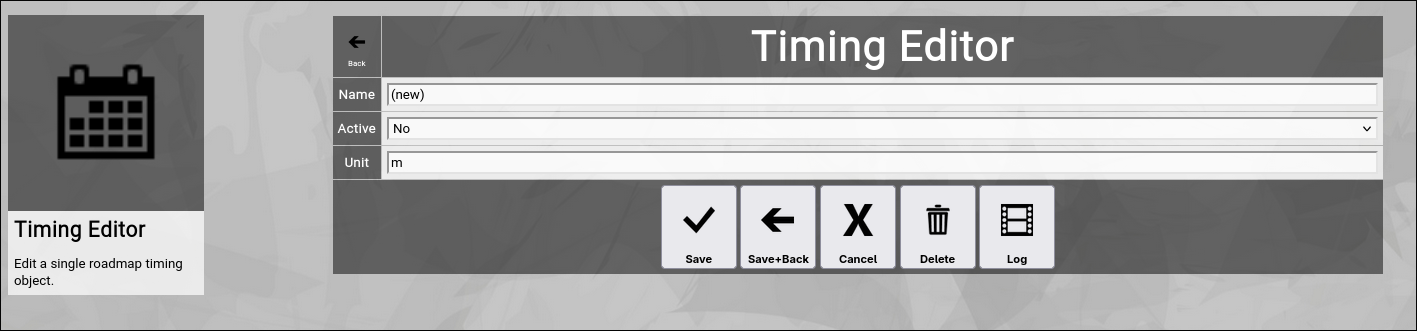
(Zingoolarity timing editor screen)
Let us have a look at the different available attributes of a timing:
- Name
The Name of a timing represents a short and easy-to-understand label for the time slot.
Note: Please assure that the timing name is in a sortable format.
Naming your month-granularity timing for example 2024-04 April assures that all the years and months are in the right sequence (as the timing-related screens in Zingoolarity all sort by the name of the timing).
- Active
The Active toggle of a timing can be used to disable (or enable) a timing.
Disabled timings are not available in the various views or drop-down boxes of Zingoolarity.
Setting a timing to inactive can be used as some kind of soft delete.
- Unit
The Unit of a timing assigns a certain granularity to the timing.
This makes sure that roadmap views only render timings of the same granularity.
Typical units are for example m for month and w for week.
You can add for example s for sprint or anything which makes sense in your own context; just make sure that all related records have the same unit.
At the bottom of the screen, a couple of buttons are available:
- The Save button will just save your changes (without leaving the editor screen).
- The Save+Back button will do the same but return to the previous screen.
- The Cancel button will just return to the previous screen (without saving).
- The Delete button will request confirmation, will delete the record and then will return to the previous screen.
Note: Deleting a timing is only possible, if the timing is not yet used somewhere in Zingoolarity already; if this is the case, you will see an appropriate error message.
The Log button will show a historical transaction log of the current record (for auditing purposes).
Editing an Existing Timing
To edit an existing timing, click the Edit button next to the timing in the list shown in the timing browser after searching. |
| Using the Type Browser |
|---|
Using the Type Browser
The type browser allows normal users to browse and view the available topic types in your Zingoolarity instance and allows administrative users to maintain these (create, update and delete).
To invoke the type browser, select Types from either the main menu or from the home page:
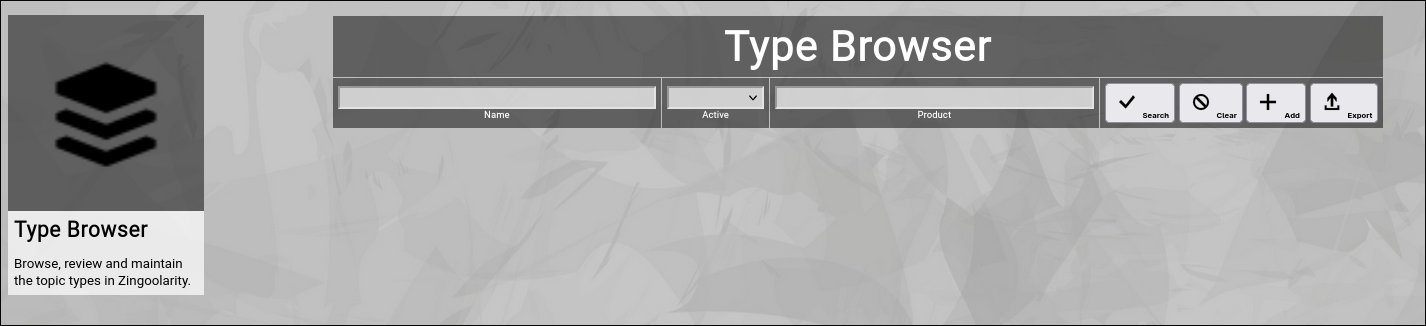
(Zingoolarity type browser)
Searching & Filtering for Types
The type browser allows you to search and filter for the following type attributes:
- Name
Enter part of a type name.
- Active
Select whether you want to see all types, only active types or only inactive types.
- Product
Enter part of either "product" or "lane" to select the types flagged for inclusion into the product map selector box.
Click the Search button to perform the search or click the Clear button to reset the already entered search criteria.
Exporting Types
If you are an administrative user, you can export the currently filtered list of types in ZML format to a local file.
Click on the Export button to perform the export.
A file named export_type.txt will be created in your local Downloads directory.
Adding a New Type
To add a new type, click the Add button.
The new type editor screen will appear:
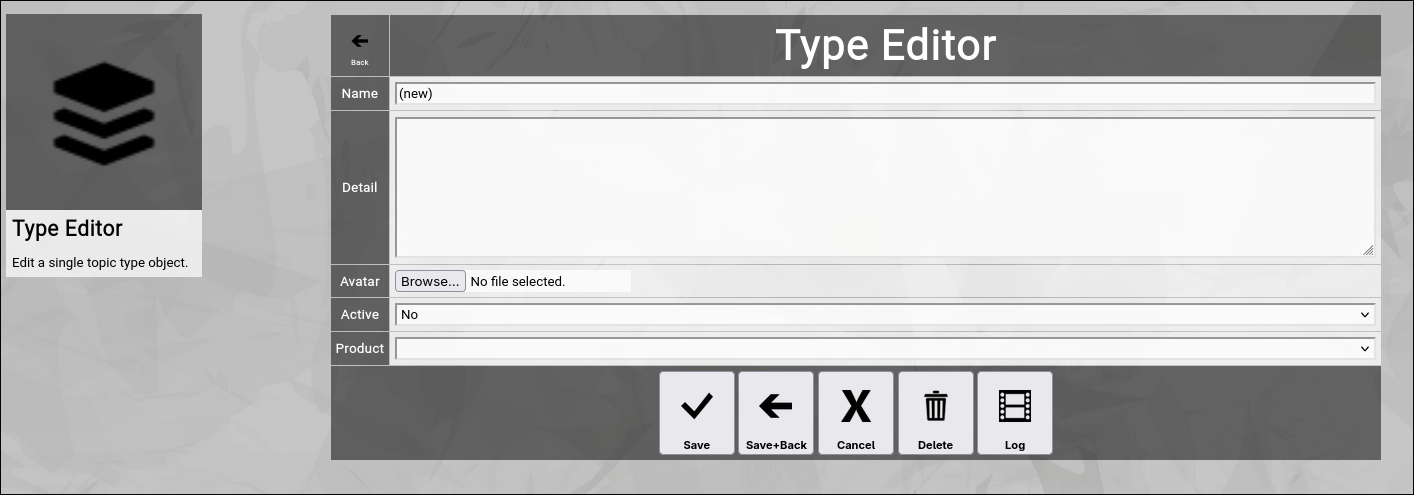
(Zingoolarity type editor screen)
Let us have a look at the different available attributes of a type:
- Name
The Name of a type represents a short and easy-to-understand label for the type.
- Detail
The optional Detail of a type is a full text description, optionally formatted in HTML.
You can enter HTML tags directly (e.g. if you want to underline something in the text, you can include it in tags).
- Active
The Active toggle of a type can be used to disable (or enable) a type.
Disabled types are not available in the various views or drop-down boxes of Zingoolarity.
Setting a type to inactive can be used as some kind of soft delete.
- Product
The Product selection of a type defines whether a topic of this type in included in the topic selector boxes in the Capability and Application Browsers.
If you create a product map, you should at least set this for the type representing a product to "product".
To include lanes into the selection too, set this to "lane" for the type representing a lane.
- Avatar
The optional Avatar of a type allows you to upload an image file (.png, .jpg or .gif format) to the type, which will be shown as an icon for the related topics in the different views in Zingoolarity.
The icon will only be used as long as there is no individual avatar set for a topic.
You have to click on the Browse button to select an image file from a local directory.
At the bottom of the screen, a couple of buttons are available:
- The Save button will just save your changes (without leaving the editor screen).
- The Save+Back button will do the same but return to the previous screen.
- The Cancel button will just return to the previous screen (without saving).
- The Delete button will request confirmation, will delete the record and then will return to the previous screen.
Note: Deleting a type is only possible, if the type is not yet used somewhere in Zingoolarity already; if this is the case, you will see an appropriate error message.
The Log button will show a historical transaction log of the current record (for auditing purposes).
Editing an Existing Type
To edit an existing type, click the Edit button next to the type in the list shown in the type browser after searching. |
|
| Using the State Browser |
|---|
Using the State Browser
The state browser allows normal users to browse and view the available topic states in your Zingoolarity instance and allows administrative users to maintain these (create, update and delete).
To invoke the state browser, select States from either the main menu or from the home page:
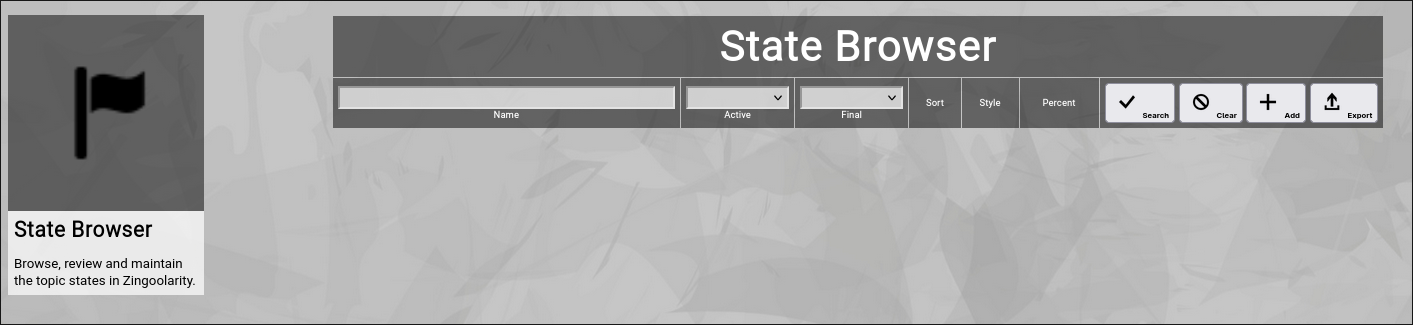
(Zingoolarity state browser)
Searching & Filtering for States
The state browser allows you to search and filter for the following state attributes:
- Name
Enter part of a state name.
- Active
Select whether you want to see all states, only active states or only inactive states.
- Final
Select whether you want to see all states, only final states or only progressional states.
Click the Search button to perform the search or click the Clear button to reset the already entered search criteria.
Exporting States
If you are an administrative user, you can export the currently filtered list of states in ZML format to a local file.
Click on the Export button to perform the export.
A file named export_state.txt will be created in your local Downloads directory.
Adding a New State
To add a new state, click the Add button.
The new state editor screen will appear:
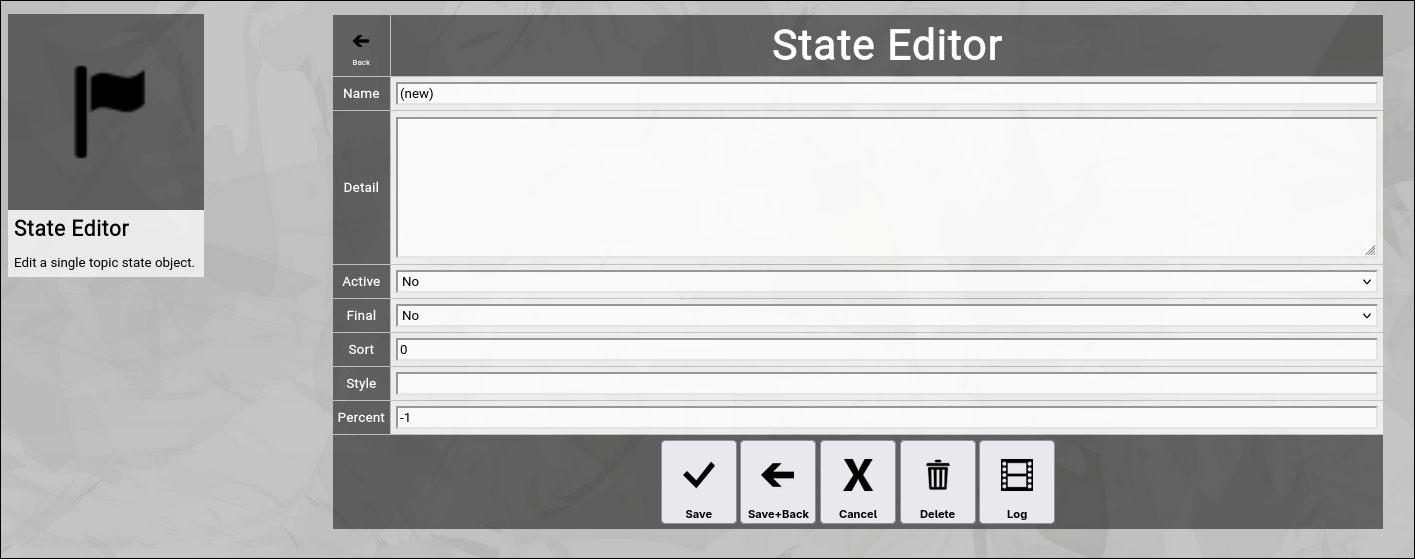
(Zingoolarity state editor screen)
Let us have a look at the different available attributes of a state:
- Name
The Name of a state represents a short and easy-to-understand label for the state.
- Detail
The optional Detail of a state is a full text description, optionally formatted in HTML.
You can enter HTML tags directly (e.g. if you want to underline something in the text, you can include it in tags).
- Active
The Active toggle of a state can be used to disable (or enable) a state.
Disabled states are not available in the various views or drop-down boxes of Zingoolarity.
Setting a state to inactive can be used as some kind of soft delete.
- Final
The Final toggle of a state designates that a state represents completion.
Completional states are for example done or canceled.
The opposite of the completional state is the progressional state.
A progressional state is for example running.
- Sort
The Sort of a state is a numeric value which directly influences the sort order of states in the different views of Zingoolarity.
This order is honored for example by the state drop-down boxes and by the Kanbanboard view.
- Style
The Style of a state is an optional HTML style definition, which allows you to color-highlight your states.
For example, if you enter background-color:#000000;color:#ff0000; here, you will get the state in red color on black background.
- Percent
The optional Percent of a state defines, whether a state change of a topic will automatically set the completion percentage (or not).
The default is -1 and means that no change will take place.
Selecting a percentage will automatically set this percentage when you select a new state for a topic.
A typical example is the done state; it automatically sets 100 as the percentage.
At the bottom of the screen, a couple of buttons are available:
The Save button will just save your changes (without leaving the editor screen).
The Save+Back button will do the same but return to the previous screen.
The Cancel button will just return to the previous screen (without saving).
The Delete button will request confirmation, will delete the record and then will return to the previous screen.
Note: Deleting a state is only possible, if the state is not yet used somewhere in Zingoolarity already; if this is the case, you will see an appropriate error message.
The Log button will show a historical transaction log of the current record (for auditing purposes).
Editing an Existing State
To edit an existing state, click the Edit button next to the state in the list shown in the state browser after searching. |
| Using the Role Browser |
|---|
Using the Role Browser
The role browser allows normal users to browse and view the available roles in your Zingoolarity instance and allows administrative users to maintain these (create, update and delete).
To invoke the role browser, select Roles from either the main menu or from the home page:
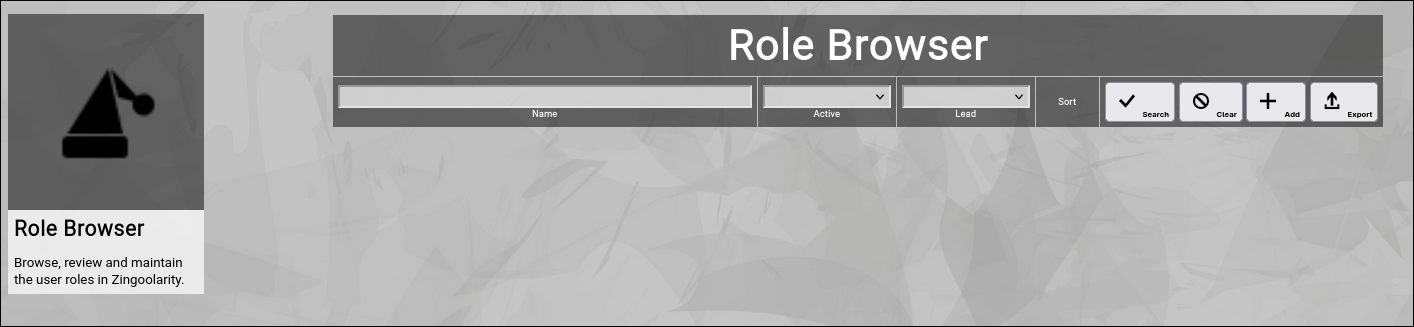
(Zingoolarity role browser)
Searching & Filtering for Roles
The role browser allows you to search and filter for the following role attributes:
- Name
Enter part of a role name.
- Active
Select whether you want to see all roles, only active roles or only inactive roles.
- Lead
Select whether you want to see all roles, only lead roles or only contributing roles.
Click the Search button to perform the search or click the Clear button to reset the already entered search criteria.
Exporting Roles
If you are an administrative user, you can export the currently filtered list of roles in ZML format to a local file.
Click on the Export button to perform the export.
A file named export_role.txt will be created in your local Downloads directory.
Adding a New Role
To add a new role, click the Add button.
The new role editor screen will appear:

(Zingoolarity role editor screen)
Let us have a look at the different available attributes of a role:
- Name
The Name of a role represents a short and easy-to-understand label for the role.
- Detail
The optional Detail of a role is a full text description, optionally formatted in HTML.
You can enter HTML tags directly (e.g. if you want to underline something in the text, you can include it in tags).
- Active
The Active toggle of a role can be used to disable (or enable) a role.
Disabled roles are not available in the various views or drop-down boxes of Zingoolarity.
Setting a role to inactive can be used as some kind of soft delete.
- Lead
The Lead toggle of a role designates that a role represents a leading role.
Leading roles are for example Head or Product Owner.
The opposite of the leading role is the contributional role.
A contributional role is for example Software Engineer.
Sort
The Sort of a role is a numeric value which directly influences the sort order of roles in the different views of Zingoolarity.
This order is honored for example by the team view of a topic.
At the bottom of the screen, a couple of buttons are available:
- The Save button will just save your changes (without leaving the editor screen).
- The Save+Back button will do the same but return to the previous screen.
- The Cancel button will just return to the previous screen (without saving).
- The Delete button will request confirmation, will delete the record and then will return to the previous screen.
Note: Deleting a role is only possible, if the role is not yet used somewhere in Zingoolarity already; if this is the case, you will see an appropriate error message.
The Log button will show a historical transaction log of the current record (for auditing purposes).
Editing an Existing Role
To edit an existing role, click the Edit button next to the role in the list shown in the role browser after searching. |
|
| Using the Capability Browser |
|---|
Using the Capability Browser
The capability browser allows normal users to browse and view the available business capabilities in your Zingoolarity instance and allows administrative users to maintain these (create, update and delete).
To invoke the capability browser, select Capabilities from either the main menu or from the home page:

(Zingoolarity capability browser)
Searching & Filtering for Capabilities
The capability browser allows you to search and filter for the following capability attributes:
- Lane
Enter part of a name of the horizontal core business process cluster.
- Domain
Enter part of a name of the vertical business process segment inside of a lane.
- Name
Enter part of a capability name.
- Active
Select whether you want to see all capabilities, only active capabilities or only inactive capabilities.
- Topic
Enter part of an associated topic name (usually a lane, domain or a product in the product map of the company).
Click the Search button to perform the search or click the Clear button to reset the already entered search criteria.
Exporting Capabilities
If you are an administrative user, you can export the currently filtered list of capabilities in ZML format to a local file.
Click on the Export button to perform the export.
A file named export_app.zml or export_app.csv (depending on the export mode settings in the settings screen) will be created in your local Downloads directory.
Adding a New Capability
To add a new capability, click the Add button.
The new capability editor screen will appear:
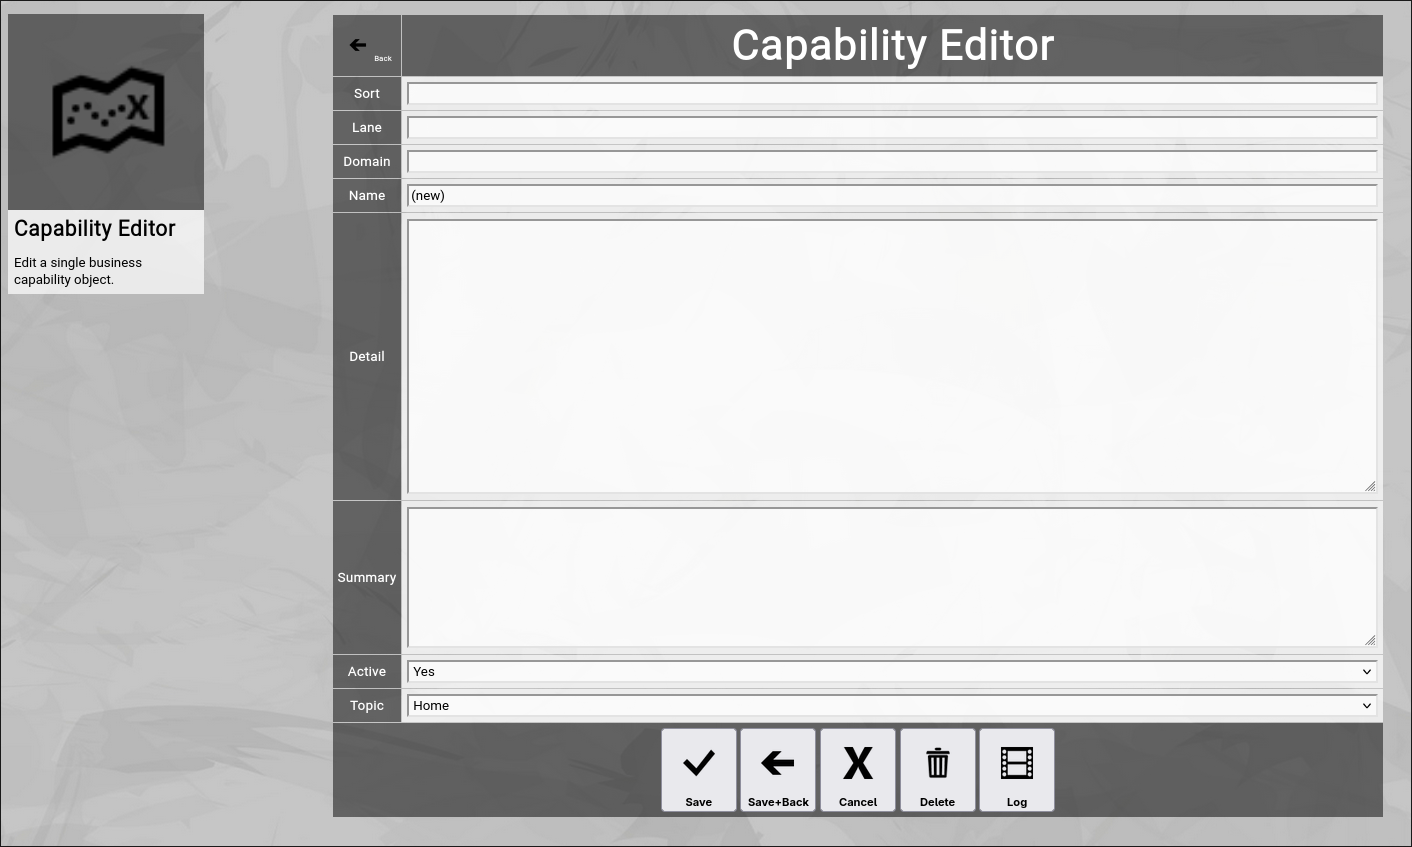
(Zingoolarity capability editor screen)
Let us have a look at the different available attributes of a capability:
- Sort
The optional Sort of a capability can be an alphanumeric key, on which the entire capability list is primarily sorted.
If this is missing, the list will also be sorted by lane, domain and name.
- Lane
The Lane of a capability is the horizontal core business process cluster to which the capability belongs.
- Domain
The Domain of a capability is the vertical business process segment inside of a lane to which the capability belongs.
- Name
The Name of an capability represents a short and easy-to-understand label for the capability.
- Detail
The optional Detail of a capability is a full text description, optionally formatted in HTML.
You can enter HTML tags directly (e.g. if you want to underline something in the text, you can include it in tags).
In addition to that, you can use the embedded HTML WYSIWYG editor by activating it in the settings screen.
- Summary
The optional Summary of a capability is a short version of the detailed description.
- Active
The Active toggle of a capability can be used to disable (or enable) an capability.
Disabled capabilities are not available in the various views or drop-down boxes of Zingoolarity.
Setting an capability to inactive can be used as some kind of soft delete.
- Topic
The Topic can be selected from a hierarchical list representing 3 levels of the product organization.
It starts to locate all topics of types which have the product map flag set to yes, then renders 2 level upwards (for easy selection in a similar appearance as the product map).
At the bottom of the screen, a couple of buttons are available:
- The Save button will just save your changes (without leaving the editor screen).
- The Save+Back button will do the same but return to the previous screen.
- The Cancel button will just return to the previous screen (without saving).
- The Delete button will request confirmation, will delete the record and then will return to the previous screen.
Note: Deleting an capability is only possible, if the capability is not yet used somewhere in Zingoolarity already; if this is the case, you will see an appropriate error message.
The Log button will show a historical transaction log of the current record (for auditing purposes).
Editing an Existing Capability
To edit an existing capability, click the Edit button next to the capability in the list shown in the capability browser after searching. |
| Using the Application Browser |
|---|
Using the Application Browser
The application browser allows normal users to browse and view the available applications in your Zingoolarity instance and allows administrative users to maintain these (create, update and delete).
To invoke the application browser, select Applications from either the main menu or from the home page:
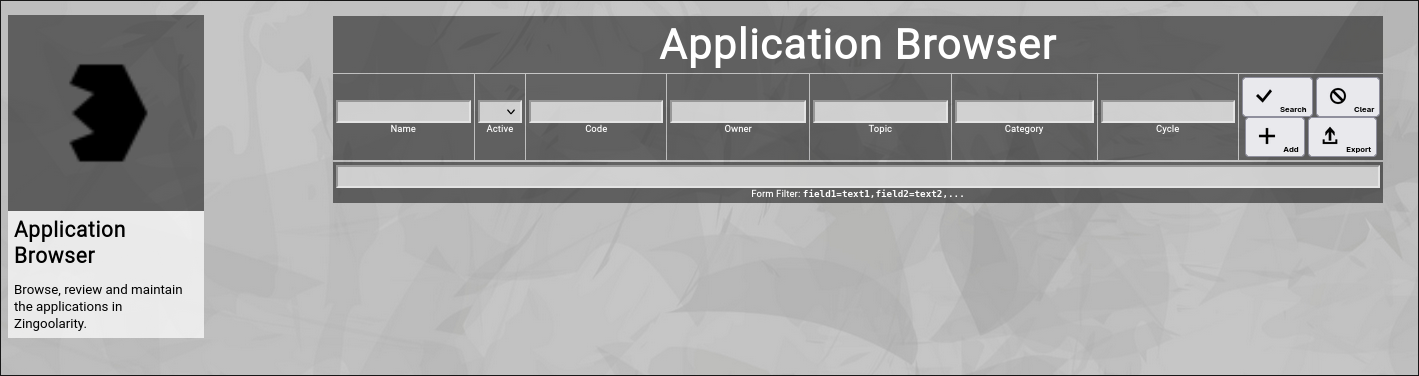
(Zingoolarity application browser)
Searching & Filtering for Applications
The app browser allows you to search and filter for the following application attributes:
- Name
Enter part of a application name.
- Active
Select whether you want to see all applications, only active applications or only inactive applications.
- Code
Enter part of a financial booking code (e.g. a SAP PSP code).
- Owner
Enter part of the owner name of the application (the application owner).
- Lane
Enter part of the lane name (2nd level above the topic). -
- Domain
Enter part of the domain name (1st level above the topic). -
- Topic
Enter part of an associated topic name (usually a lane, domain or a product in the product map of the company).
- Category
Enter part of a category name of the application.
- Cycle
Enter part of a cycle name of the application.
Click the Search button to perform the search or click the Clear button to reset the already entered search criteria.
Exporting Applications
If you are an administrative user, you can export the currently filtered list of applications in ZML format to a local file.
Click on the Export button to perform the export.
A file named export_app.zml or export_app.csv (depending on the export mode settings in the settings screen) will be created in your local Downloads directory.
Adding a New Application
To add a new application, click the Add button.
The new application editor screen will appear:
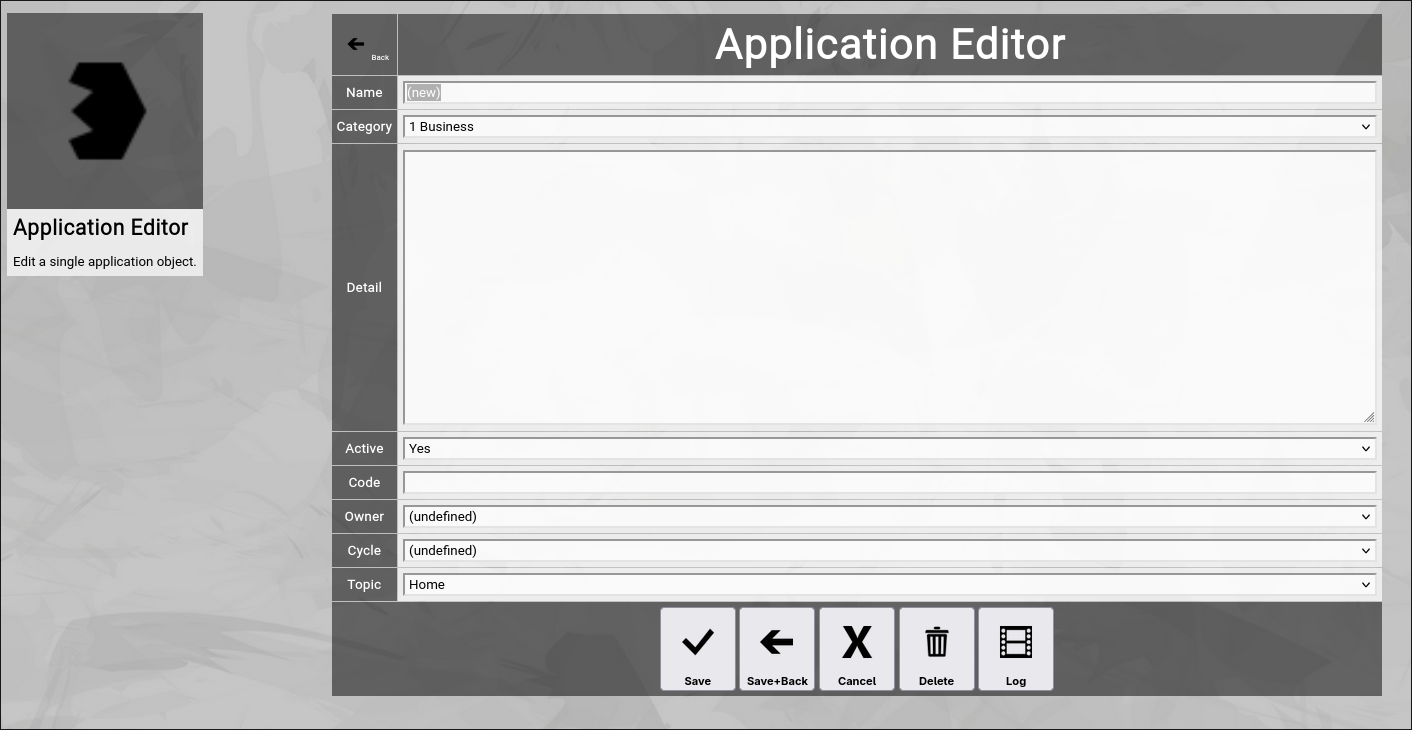
(Zingoolarity application editor screen)
Let us have a look at the different available attributes of an application:
- Name
The Name of an application represents a short and easy-to-understand label for the application.
- Category
The Category of an application allows you to partition your applications into logical segments.
Categories are pre-defined with the Category Browser (see next section).
- Detail
The optional Detail of an application is a full text description, optionally formatted in HTML.
You can enter HTML tags directly (e.g. if you want to underline something in the text, you can include it in tags).
In addition to that, you can use the embedded HTML WYSIWYG editor by activating it in the settings screen.
- Active
The Active toggle of an application can be used to disable (or enable) an application.
Disabled applications are not available in the various views or drop-down boxes of Zingoolarity.
Setting an application to inactive can be used as some kind of soft delete.
- Code
The Code can be used to associate a booking code to your application (e.g. the SAP PSP element).
It can be used to allocate costs on applications.
What has to be entered here is highly depending on your individual company.
- Owner
The Owner of an application is the subject matter expert in a product team, who is responsible for the lifecycle of the application.
He or she usually has deep knowledge about the application and takes care of commercial cost planning regarding the applications, among other things.
- Cycle
The Cycle of an application represents the stage of the lifecycle of the application.
It usually starts with Target (the application is part of the target architecture), then enters the Ramp Up (activities to prepare the application for production, customization, implementation, build-up of a product, etc), switches to Production and after a hopefully long time of productive usage finally goes into Deprecated and then into Decommissioned.
The available cycles are fetched from the Cycle Browser (also explained in this chapter).
- Topic
The Topic can be selected from a hierarchical list representing 3 levels of the product organization.
It starts to locate all topics of types which have the product map flag set to yes, then renders 2 level upwards (for easy selection in a similar appearance as the product map).
At the bottom of the screen, a couple of buttons are available:
- The Save button will just save your changes (without leaving the editor screen).
- The Save+Back button will do the same but return to the previous screen.
- The Cancel button will just return to the previous screen (without saving).
- The Delete button will request confirmation, will delete the record and then will return to the previous screen.
Note: Deleting an application is only possible, if the application is not yet used somewhere in Zingoolarity already; if this is the case, you will see an appropriate error message.
- The Log button will show a historical transaction log of the current record (for auditing purposes).
Editing an Existing Application
To edit an existing application, click the Edit button next to the application in the list shown in the app browser after searching. |
| Using the Category Browser |
|---|
Using the Category Browser
The category browser allows normal users to browse and view the available application categories in your Zingoolarity instance and allows administrative users to maintain these (create, update and delete).
To invoke the category browser, select Categories from either the main menu or from the home page:
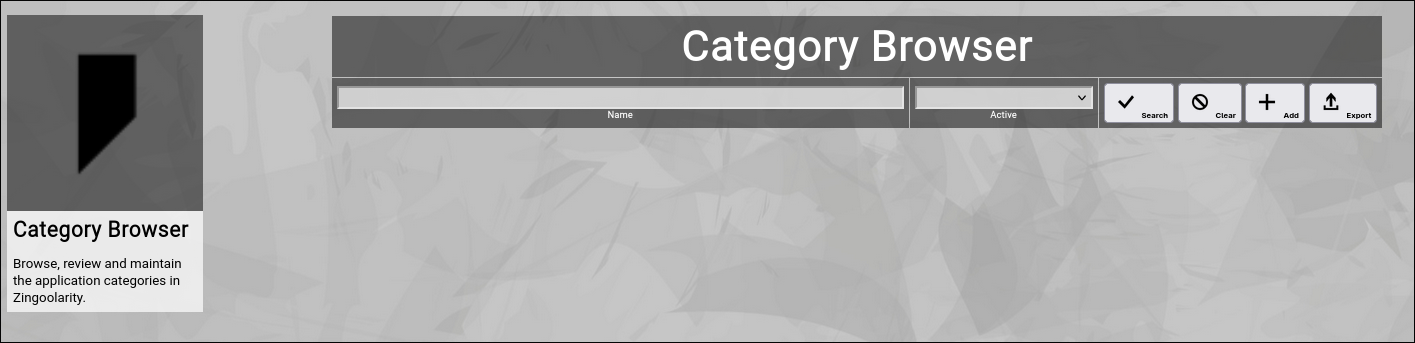
(Zingoolarity category browser)
Searching & Filtering for Categories
The category browser allows you to search and filter for the following category attributes:
- Name
Enter part of a category name.
- Active
Select whether you want to see all categories, only active categories or only inactive categories.
Click the Search button to perform the search or click the Clear button to reset the already entered search criteria.
Exporting Categories
If you are an administrative user, you can export the currently filtered list of categories in ZML format to a local file.
Click on the Export button to perform the export.
A file named export_cat.txt will be created in your local Downloads directory.
Adding a New Category
To add a new category, click the Add button.
The new category editor screen will appear:
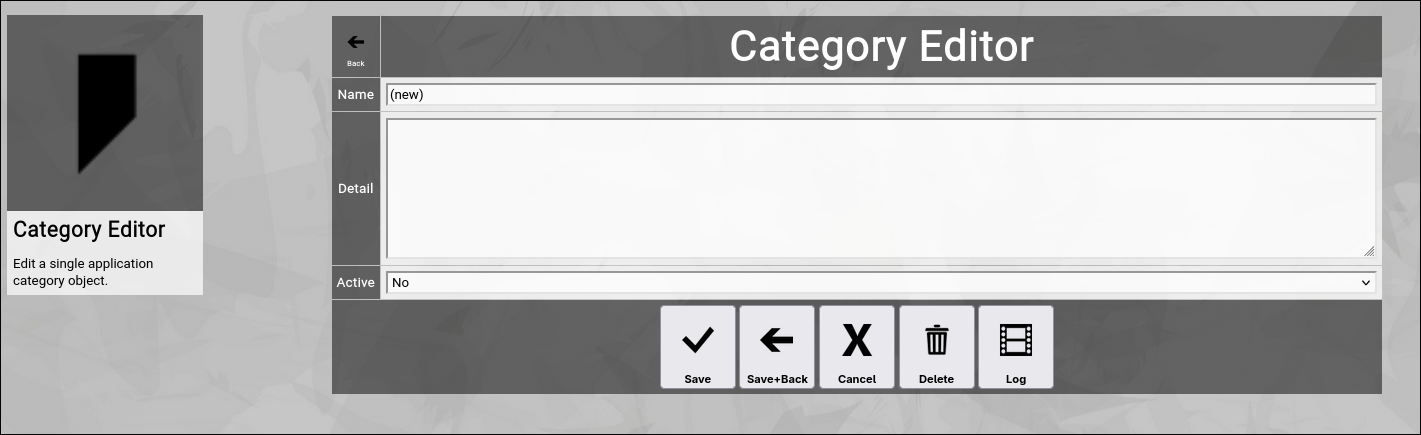
(Zingoolarity category editor screen)
Let us have a look at the different available attributes of a category:
- Name
The Name of a category represents a short and easy-to-understand label for the category.
- Detail
The optional Detail of a category is a full text description, optionally formatted in HTML.
You can enter HTML tags directly (e.g. if you want to underline something in the text, you can include it in tags).
- Active
The Active toggle of a category can be used to disable (or enable) a category.
Disabled categories are not available in the various views or drop-down boxes of Zingoolarity.
Setting a category to inactive can be used as some kind of soft delete.
At the bottom of the screen, a couple of buttons are available:
- The Save button will just save your changes (without leaving the editor screen).
- The Save+Back button will do the same but return to the previous screen.
- The Cancel button will just return to the previous screen (without saving).
- The Delete button will request confirmation, will delete the record and then will return to the previous screen.
Note: Deleting a category is only possible, if the category is not yet used somewhere in Zingoolarity already; if this is the case, you will see an appropriate error message.
The Log button will show a historical transaction log of the current record (for auditing purposes).
Editing an Existing Category
To edit an existing category, click the Edit button next to the category in the list shown in the category browser after searching. |
| Using the Cycle Browser |
|---|
Using the Cycle Browser
The cycle browser allows normal users to browse and view the available application cycles in your Zingoolarity instance and allows administrative users to maintain these (create, update and delete).
To invoke the cycle browser, select Cycles from either the main menu or from the home page:
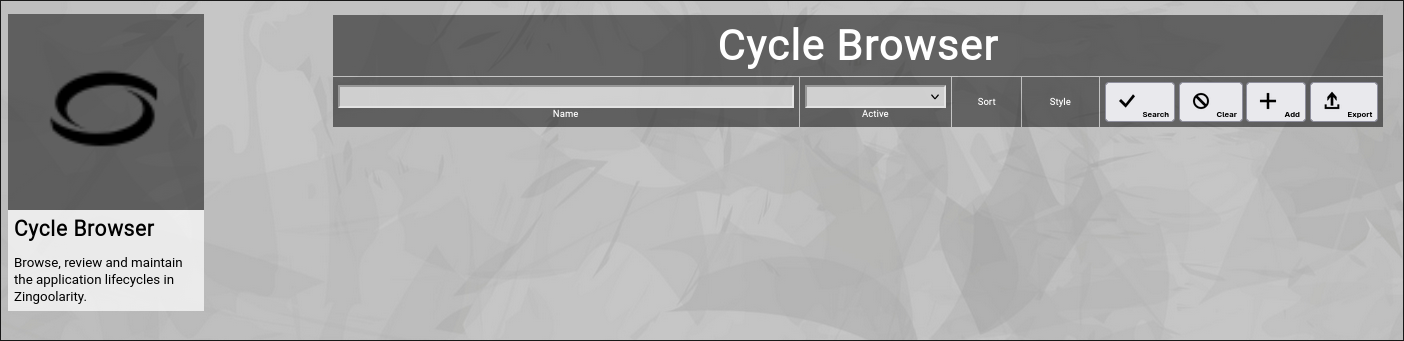
(Zingoolarity cycle browser)
Searching & Filtering for Cycles
The cycle browser allows you to search and filter for the following cycle attributes:
- Name
Enter part of a cycle name.
- Active
Select whether you want to see all cycles, only active cycles or only inactive cycles.
Click the Search button to perform the search or click the Clear button to reset the already entered search criteria.
Exporting Cycles
If you are an administrative user, you can export the currently filtered list of cycles in ZML format to a local file.
Click on the Export button to perform the export.
A file named export_cycle.txt will be created in your local Downloads directory.
Adding a New Cycle
To add a new cycle, click the Add button.
The new cycle editor screen will appear:
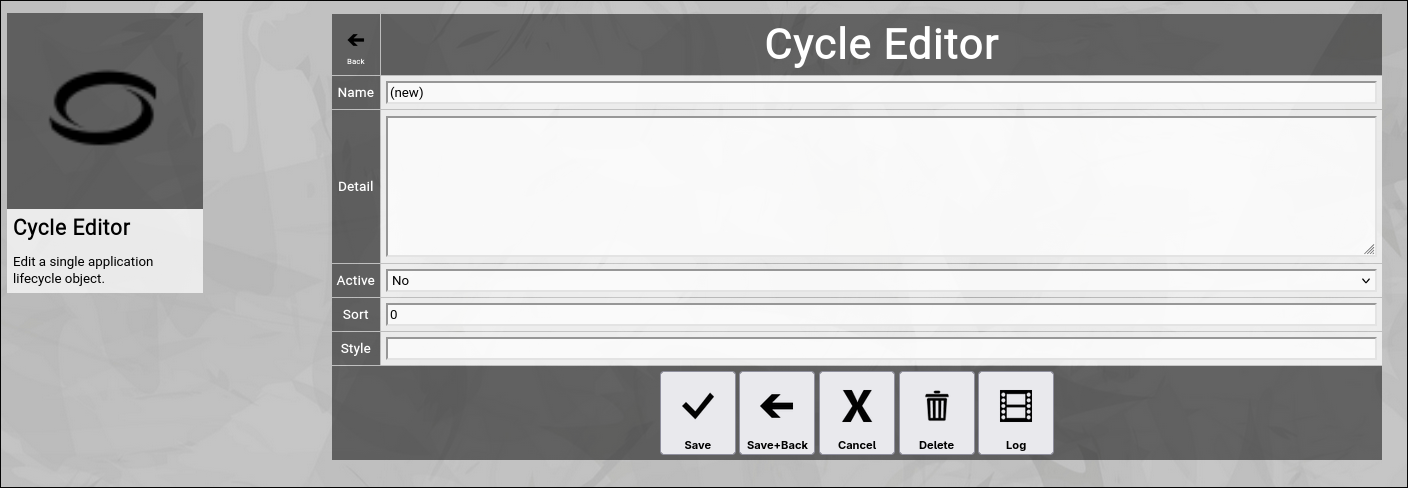
(Zingoolarity cycle editor screen)
Let us have a look at the different available attributes of a cycle:
- Name
The Name of a cycle represents a short and easy-to-understand label for the cycle.
- Detail
The optional Detail of a cycle is a full text description, optionally formatted in HTML.
You can enter HTML tags directly (e.g. if you want to underline something in the text, you can include it in tags).
- Active
The Active toggle of a cycle can be used to disable (or enable) a cycle.
Disabled cycles are not available in the various views or drop-down boxes of Zingoolarity.
Setting a cycle to inactive can be used as some kind of soft delete.
- Sort
The Sort of a cycle is a numeric value which directly influences the sort order of cycles in the different views of Zingoolarity.
This order is honored for example by the cycle drop-down boxes.
- Style
The Style of a cycle is an optional HTML style definition, which allows you to color-highlight your cycles.
For example, if you enter background-color:#000000;color:#ff0000; here, you will get the cycle in red color on black background.
At the bottom of the screen, a couple of buttons are available:
- The Save button will just save your changes (without leaving the editor screen).
- The Save+Back button will do the same but return to the previous screen.
- The Cancel button will just return to the previous screen (without saving).
- The Delete button will request confirmation, will delete the record and then will return to the previous screen.
Note: Deleting a cycle is only possible, if the cycle is not yet used somewhere in Zingoolarity already; if this is the case, you will see an appropriate error message.
- The Log button will show a historical transaction log of the current record (for auditing purposes).
Editing an Existing Cycle
To edit an existing cycle, click the Edit button next to the cycle in the list shown in the cycle browser after searching. |
| Using the Period Browser |
|---|
Using the Period Browser
The period browser allows normal users to browse and view the available budget periods in your Zingoolarity instance and allows administrative users to maintain these (create, update and delete).
To invoke the period browser, select Periods from either the main menu or from the home page:
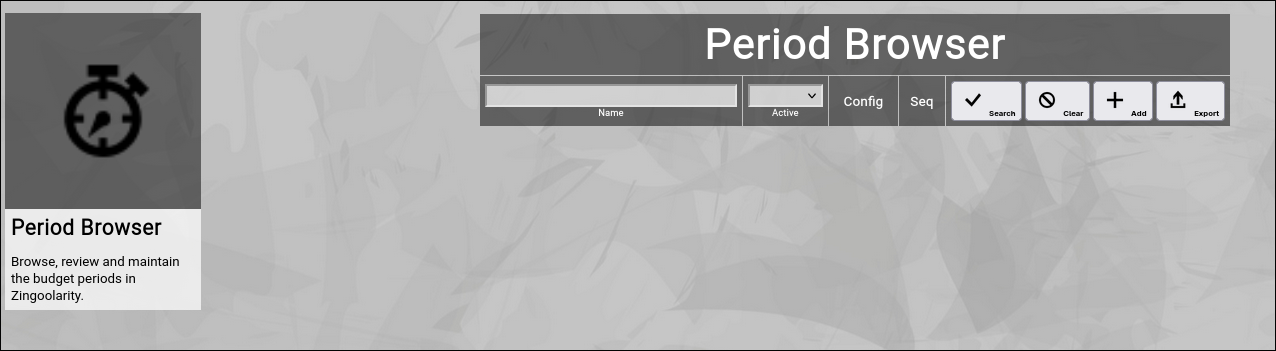
(Zingoolarity period browser)
Searching & Filtering for Periods
The period browser allows you to search and filter for the following period attributes:
- Name
Enter part of a period name.
- Active
Select whether you want to see all periods, only active periods or only inactive periods.
Click the Search button to perform the search or click the Clear button to reset the already entered search criteria.
Exporting Periods
If you are an administrative user, you can export the currently filtered list of periods in ZML format to a local file.
Click on the Export button to perform the export.
A file named export_period.txt will be created in your local Downloads directory.
Adding a New Period
To add a new period, click the Add button.
The new period editor screen will appear:
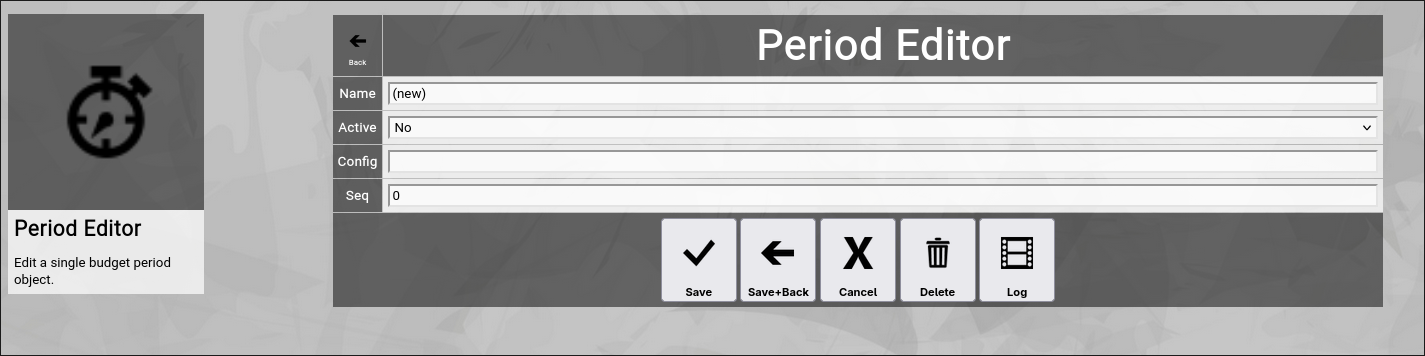
(Zingoolarity period editor screen)
Let us have a look at the different available attributes of a period:
- Name
The Name of a period represents a short and easy-to-understand label for the period.
- Active
The Active toggle of a period can be used to disable (or enable) a period.
Disabled periods are not available in the various views or drop-down boxes of Zingoolarity.
Setting a period to inactive can be used as some kind of soft delete.
- Config
The optional Config of a period allows you to configure the behavior of a period.
At the moment, you can place the keyword @break; here to force a break to a new column in the rendering of the period slots in the budget entry field.
- Seq
The Seq of a period is a numeric value which directly influences the sort order of periods in the different views of Zingoolarity.
This order is honored for example by the budget entry field of topics.
At the bottom of the screen, a couple of buttons are available:
- The Save button will just save your changes (without leaving the editor screen).
- The Save+Back button will do the same but return to the previous screen.
- The Cancel button will just return to the previous screen (without saving).
- The Delete button will request confirmation, will delete the record and then will return to the previous screen.
Note: Deleting a period is only possible, if the period is not yet used somewhere in Zingoolarity already; if this is the case, you will see an appropriate error message.
The Log button will show a historical transaction log of the current record (for auditing purposes).
Editing an Existing Period
To edit an existing period, click the Edit button next to the period in the list shown in the period browser after searching. |
| Using the Form Browser |
|---|
Using the Form Browser
The form browser allows normal users to browse and view the available forms in your Zingoolarity instance and allows administrative users to maintain these (create, update and delete).
To invoke the form browser, select Forms from either the main menu or from the home page:
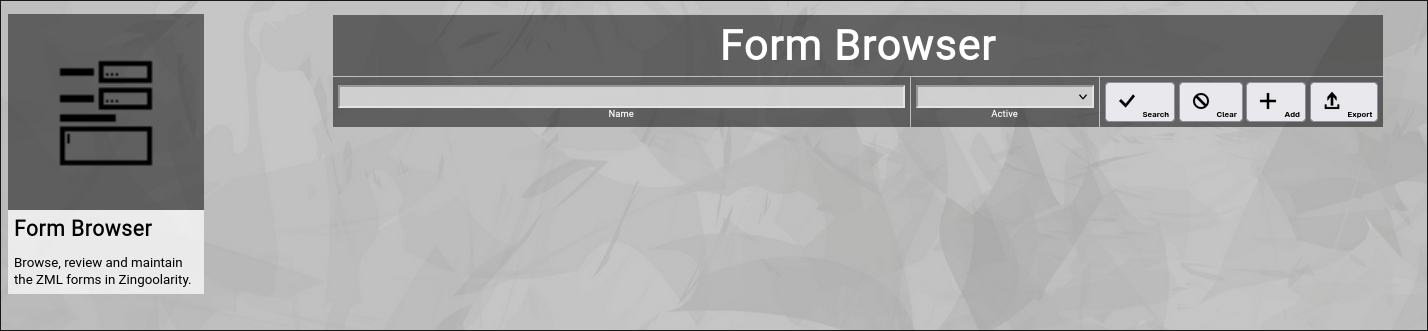
(Zingoolarity form browser)
Searching & Filtering for Forms
The form browser allows you to search and filter for the following form attributes:
- Name
Enter part of a form name.
- Active
Select whether you want to see all forms, only active forms or only inactive forms.
Click the Search button to perform the search or click the Clear button to reset the already entered search criteria.
Exporting Forms
If you are an administrative user, you can export the currently filtered list of forms in ZML format to a local file.
Click on the Export button to perform the export.
A file named export_form.txt will be created in your local Downloads directory.
Adding a New Form
To add a new form, click the Add button.
The new form editor screen will appear:
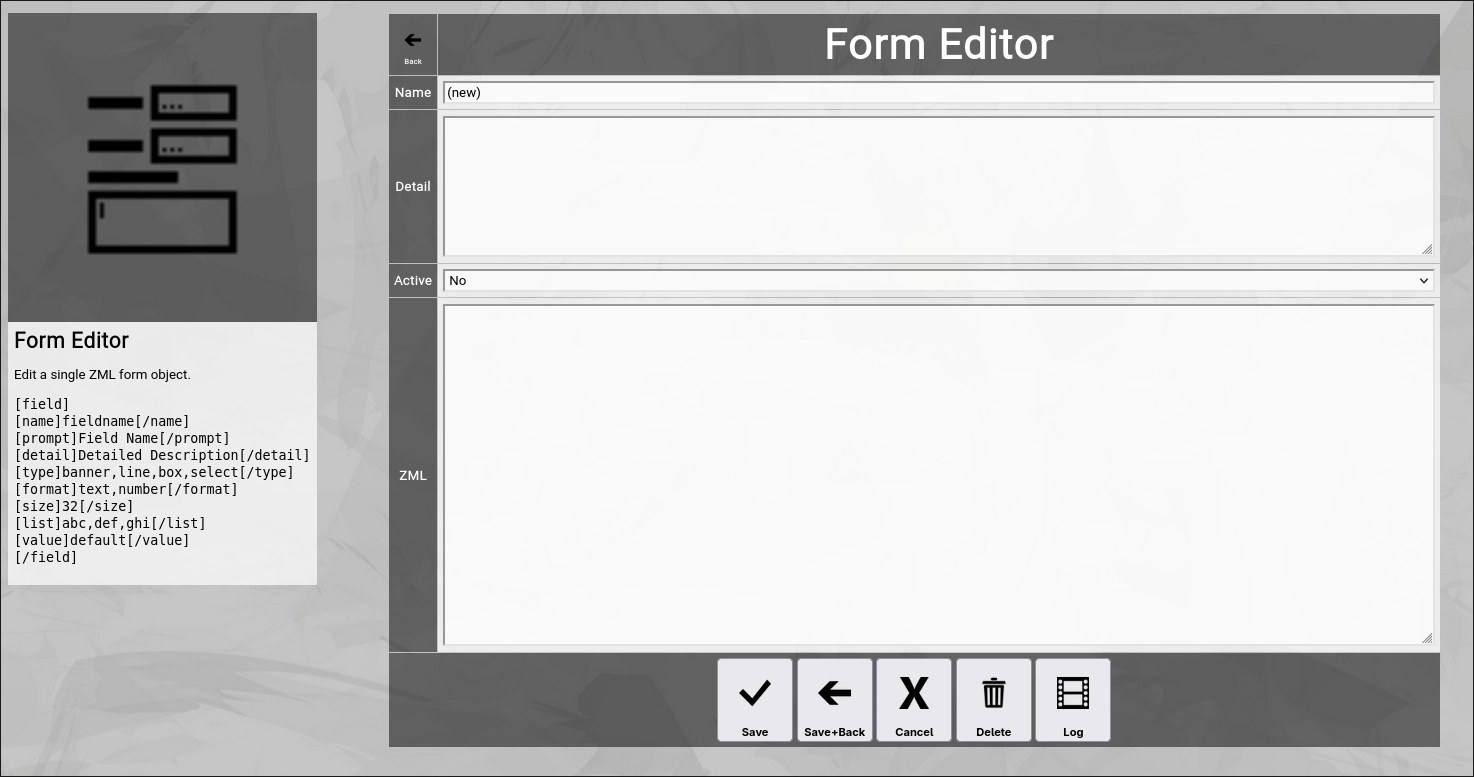
(Zingoolarity form editor screen)
Let us have a look at the different available attributes of a form:
- Name
The Name of a form represents a short and easy-to-understand label for the form.
- Detail
The optional Detail of a form is a full text description, optionally formatted in HTML.
You can enter HTML tags directly (e.g. if you want to underline something in the text, you can include it in tags).
- Active
The Active toggle of a form can be used to disable (or enable) a form.
Disabled forms are not available in the various views or drop-down boxes of Zingoolarity.
Setting a form to inactive can be used as some kind of soft delete.
- ZML
The ZML of a form contains the definition of the form in ZML format.
See below for the syntax of the form definition language.
At the bottom of the screen, a couple of buttons are available:
- The Save button will just save your changes (without leaving the editor screen).
- The Save+Back button will do the same but return to the previous screen.
- The Cancel button will just return to the previous screen (without saving).
- The Delete button will request confirmation, will delete the record and then will return to the previous screen.
Note: Deleting a form is only possible, if the form is not yet used somewhere in Zingoolarity already; if this is the case, you will see an appropriate error message.
- The Log button will show a historical transaction log of the current record (for auditing purposes).
The Form Definition Language in ZML
A form definition in Zingoolarity consists of 1..N field tags, which in turn contain a number of name, prompt, detail, type, format, size and list tags.
Here is the syntax:
[field]
[name]fieldname[/name]
[prompt]Field Name[/prompt]
[detail]Detailed Description[/detail]
[type]banner,line,box,select[/type]
[format]text,number[/format]
[size]32[/size]
[list]abc,def,ghi[/list]
[value]default[/value]
[/field]
For a concrete example, you can have a look at the default "Application Form", which is usually pretty much illustrative.
Editing an Existing Form
To edit an existing form, click the Edit button next to the form in the list shown in the form browser after searching. |
|