Introduction
Installation
Start
General
Myself
TOPICS
Main
Configuration
System
Websites
Update
Downloads
Copyright+License
Zingoolarity Homepage Start
Table of Content
Connecting with your Browser
The Home Page
The Main Menu
Changing the Language
Changing the Settings

Start

Here you learn how to start and connect with your instance of Zingoolarity.


Connecting with your Browser

Connecting with your Web Browser

Point your favorite web browser to http://localhost:8080 (if you installed locally for testing) or to the officially configured production URL (with SSL encryption).

Your browser should automatically switch to the Zingoolarity splash screen of your installation:


(Zingoolarity splash screen)

Now click anywhere on the welcome screen to switch to the main menu:


(Zingoolarity home screen)

As you can already see, this is quite a clean and simple view of the available menu options, quickly explaining the details of each point.

As you have not logged in yet, only a couple of menu options are available.

This is called the home screen (or home page).

If the "Simple UI" is subscribed in your profile screen, instead of the home page the main topic view (the topmost element of all of the topics) will be rendered in Context view mode:


(Zingoolarity example main topic screen)

This lets you directly dive into the content (without navigating the home page first).

The Home Page

The Home Page

The Zingoolarity home page is the main landing page of Zingoolarity.

Here you will find all available functions and views, including short descriptions.

The content of the page depends on your login state and on your authorization level.
Some options are only available for administrators.

Here is a view of the page without login:


(Zingoolarity home screen without login)

And here is a view with full administration privileges:


(Zingoolarity home screen with full administration privileges)

As you can already see, this is quite a clean and simple view of the available menu options, quickly explaining the details of each point.

The Main Menu

The Main Menu

The home page of your Zingoolarity installation shows the available options in detail.

If you only want to quick-pick an option, the Zingoolarity main menu comes in handy.

You can open the main menu by clicking on the Zingoolarity icon in the upper-left corner of the screen:


(Zingoolarity main menu without login)

It shows exactly the same options as the home page, but only the icons and names (which is good enough after some time using Zingoolarity).

Clicking on the Zingoolarity icon again will bring you back to the previous screen (in this case the home page).

In the same way as the home page, the content of the main menu depends on your login state and your privileges.

Here is an example with full administrative rights:


(Zingoolarity main menu with full administrative rights)

Changing the Language

Changing the Language

By default, the dialog language is English.

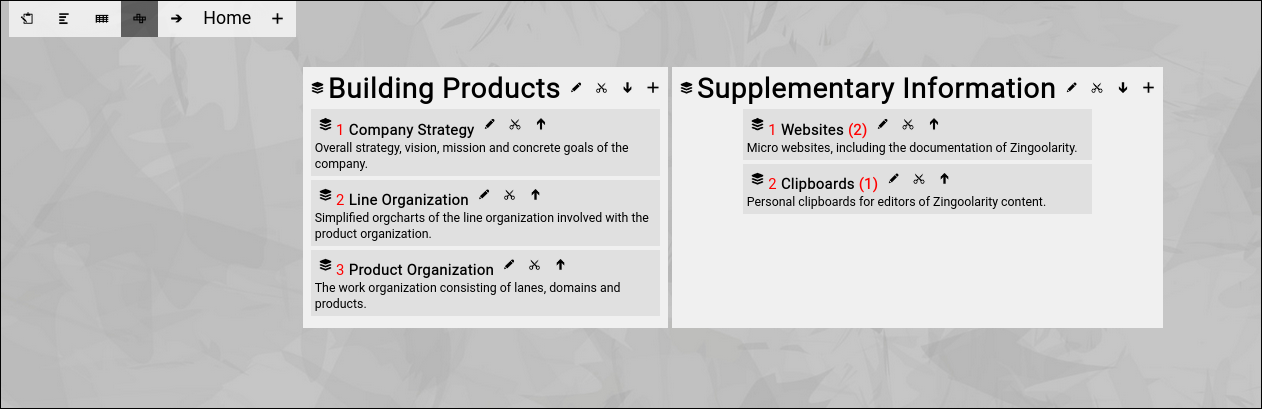
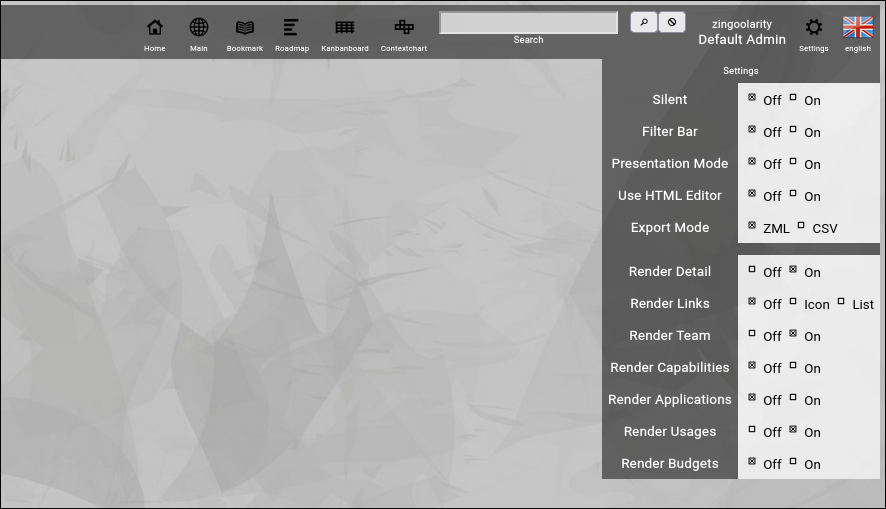
To pick another available language, click on the language selector flag in the upper-right corner of the screen:


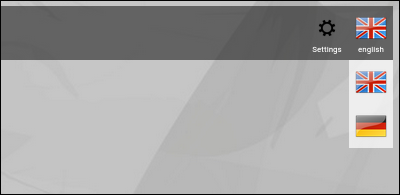
(Zingoolarity language selector screen)

By default, English and German are available.

<>P>Switching to a different language is instantaneous (no restart required).

Languages can be added by software engineers who are able to read and add to the Go source code of Zingoolarity.

Adding a new language

(No need to read on for normal users)

Translations are stored in modules with the naming scheme lang_english.go or lang_german.go and can be handed over to native speakers for professional translation.

The new translation can be added as a new file with the same scheme, for example lang_polish.go.

Finally the new language key (in this example polish) has to be added to the two functions availableLang() and loadLang() in the module helper_lang.go to make it available.

Add the new module lang_polish.go to build.sh and compile zingoolarity with a call to ./build.sh at the command line to create a new Zingoolarity executable, which contains the new language.

You should also add a new icon file to the asset directory, which is called polish.png and represents the national flag shown in the language selection menu.

Changing the Settings

Changing the Settings

Zingoolarity has a couple of global settings, which can be set by clicking on the small settings icon in the upper-right corner of the browser screen:


(Zingoolarity settings screen)

Here is an explanation of the different available settings:

  • Silent
    You may have noted (depending on the browser you use) that there is a background sound in the splash screen and a click sound whenever you select something in Zingoolarity.
    To turn this off, you can use the option in your browser or you can activate the Silent option in this screen.
  • Filter Bar
    This settings allows you to toggle the filter bar in the 3 view modes of Zingoolarity.
    The filter bar provides additional filter possibilities for the selected view.
  • Presentation Mode
    This setting allows you to toggle the presentation mode.
    In presentation mode the filter bar and all buttons are hidden, so that the different rendering modes look uncluttered for presentation purposes.
  • Use HTML Editor
    This setting allows you to toggle the usage of the integrated WYSIWYG HTML editor for the detail field of topics.
    This is useful if you want to format the descriptions of topics.
  • Export Mode
    This setting allows you to toggle the export format between ZML (which can be re-imported) and CSV (which can be imported into spreadsheets).
  • Render Detail
    You can activate the display of the detailed description text per topic (see the introduction of the topics further down in this guideline).
    This setting allows you to globally turn this on or off.
  • Render Links
    Zingoolarity allows you link topics to each other.
    This setting allows you to optionally display these links in the different rendering modes as either an icon (which you can click to drill to the linked topic) or as a line of text showing the name of the linked topic (which is also clickable).
  • Render Team
    You can activate the display of the associated team per topic (see the introduction of the topics further down in this guideline).
    This setting allows you to globally turn this on or off.
  • Render Capabilities
    You can activate the display of the associated capabilities in the different rendering modes per topic with this setting.
    This is helpful, if you associate all available business capabilities with lanes or domains on your product map in the early stages of building up your product organization.
  • Render Applications
    You can activate the display of associated applications in the different rendering modes per topic with this setting.
    This is helpful, if you associate all available applications with lanes or domains on your product map in the early stages of building up your product organization.
  • Render Usages
    You can activate the display of associated intersections between capabilities, applications and products with this setting.
    This is helpful in the 2nd stage of your product organization, when you start creating and improving your target architecture.
  • Render Budgets
    You can activate the display of associated budgets in the different rendering modes per topic with this setting.

Whenever you select an option, you will be automatically returned to the screen you used before.

The options available here will be explained in detail in the context of the related functions in this getting started guide further down.