Working with Topic Actions
As already explained before, topics can represent nearly any kind of "thing” inside of Zingoolarity.
They can be folders, orgcharts, units, teams, roadmaps, themes, epics, stories and much more.
The "Actions” functionality allows you to maintain an activity log associated with any of these things.
An "action” in this sense is anything you have done in the context of the topic, which is noteworthy enough, relevant for other people and which needs documentation.
Actions have an author, a place on the timeline and a detailed text content, which essentially boils down to the classic scheme of who, when and what.
You can switch to the actions associated with a topic by clicking the "Actions” button inside of the topic editor screen.
Initially the screen will be empty and will look something like this:
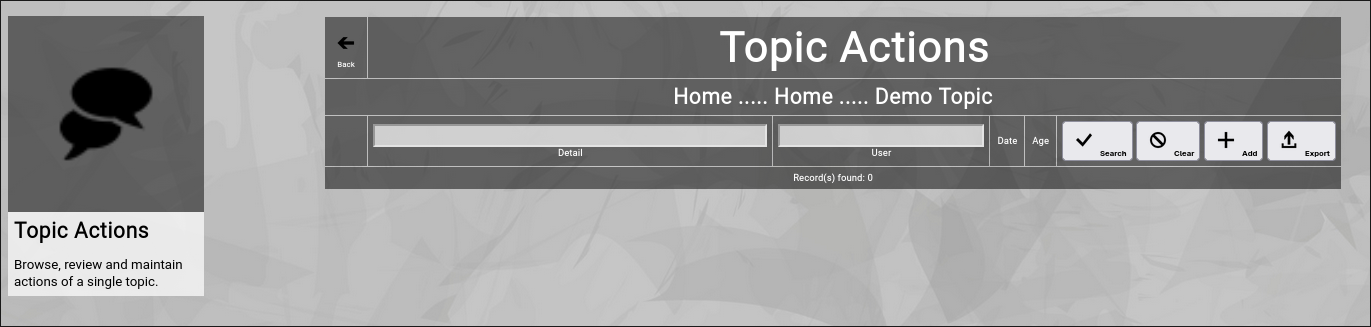
(Zingoolarity topic actions screen)
You can now click the "Add” button to add a new action to the topic.
It will switch to the action editor screen:
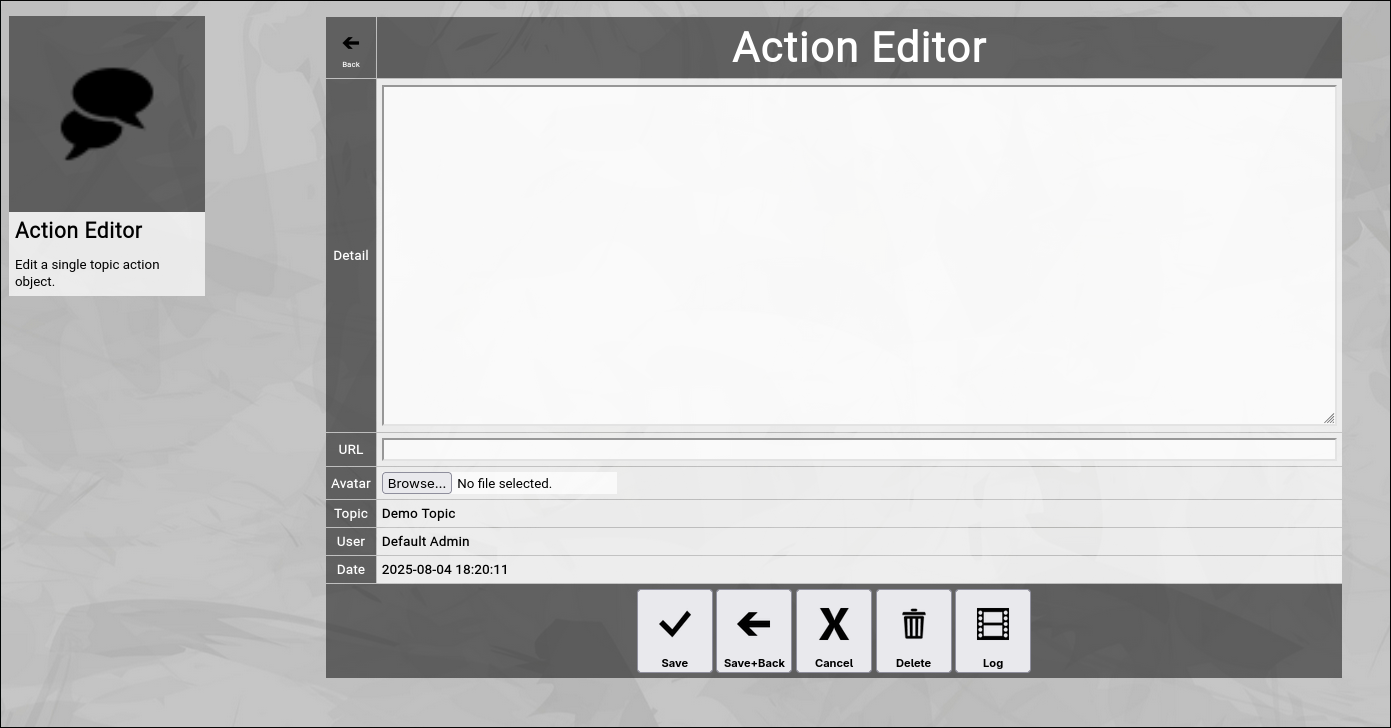
(Zingoolarity action editor screen)
Let us have a quick look at the available fields:
- Detail
The "Detail” of an action contains a textual description of the action which has been taken.
Much like the "Detail” of a topic it can manually contain HTML tags (like the "
” tag in the example above to force a line break) or it can be edited with the integrated HTML editor (if it is activated in the "Settings” screen).
- URL
The optional "URL” of an action allows you to enter or paste a link to an external application or document.
In the list of actions, the URL will be shown below the "Detail”.
- Avatar
The optional "Avatar” allows you to upload a binary attachment to the action.
You have to click on the "Browse” button to select a file from a local directory.
If you upload a file ending with either ".jpg”, ".png” or ".gif”, it will be identified as a picture and also rendered as an action icon in the different views.
If not, it can be downloaded for viewing or editing.
Much like in the topic editor screen, you have a selection of buttons to complete your input:
- The "Save” button will just save your action (without leaving the action editor screen).
- The "Save+Back” button will do the same but return to the previous screen.
- The "Cancel” button will just return to the previous screen (without saving).
- The "Delete” button will request confirmation, will delete the action and then will return to the previous screen.
- The "Log” button will show a historical transaction log of the current action (for auditing purposes).
When you return to the previous screen, you will see the action which you just added in the list of actions:
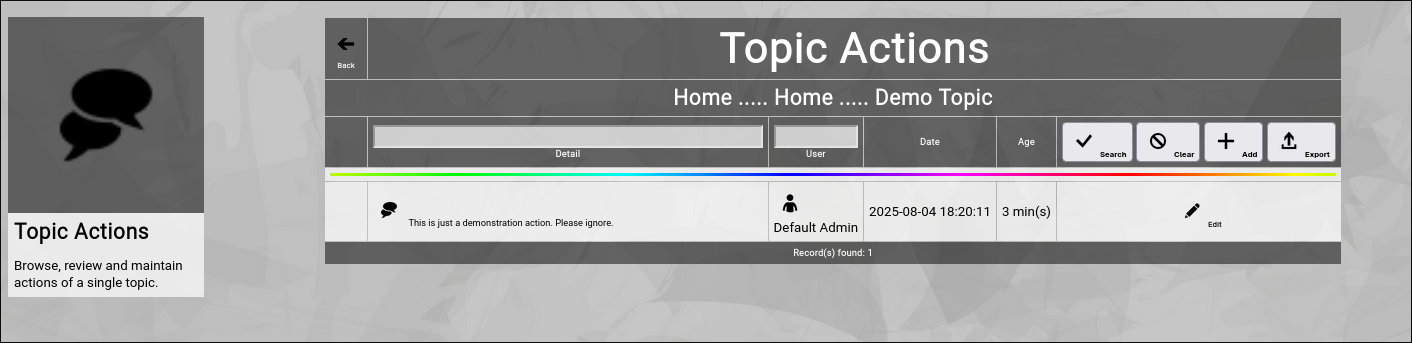
(Zingoolarity topic actions screen with a recently added action)
And you will also see the "rainbow bar” again, marking the action which you just edited.
This is helpful if there are already many actions for the given topic.
The screen will scroll to the last edited action and will highlight it with the "rainbow bar”.
Editing an existing Action
You will also see the "Edit” button next to each and every action.
Clicking this button will allow you to switch to the action editor screen again to make some modifications.
Filtering the Topic Actions
In general, the newest actions are always rendered on top (they are sorted by date in descending order).
If you already have many actions added, it might be helpful to additionally filter.
You can enter:
- Part of a "Detail”
to search for a keyword in the details of the action.
- Part of a "Username”
to search for actions of a given user only.
You may click on the "Search” button to perform the filtering or click the "Clear” button to remove a currently active filter again.
Going Back to the Topic
You can click the "Back” button in the upper-left corner to return to the previous screen (in this case, the topic editor screen). |